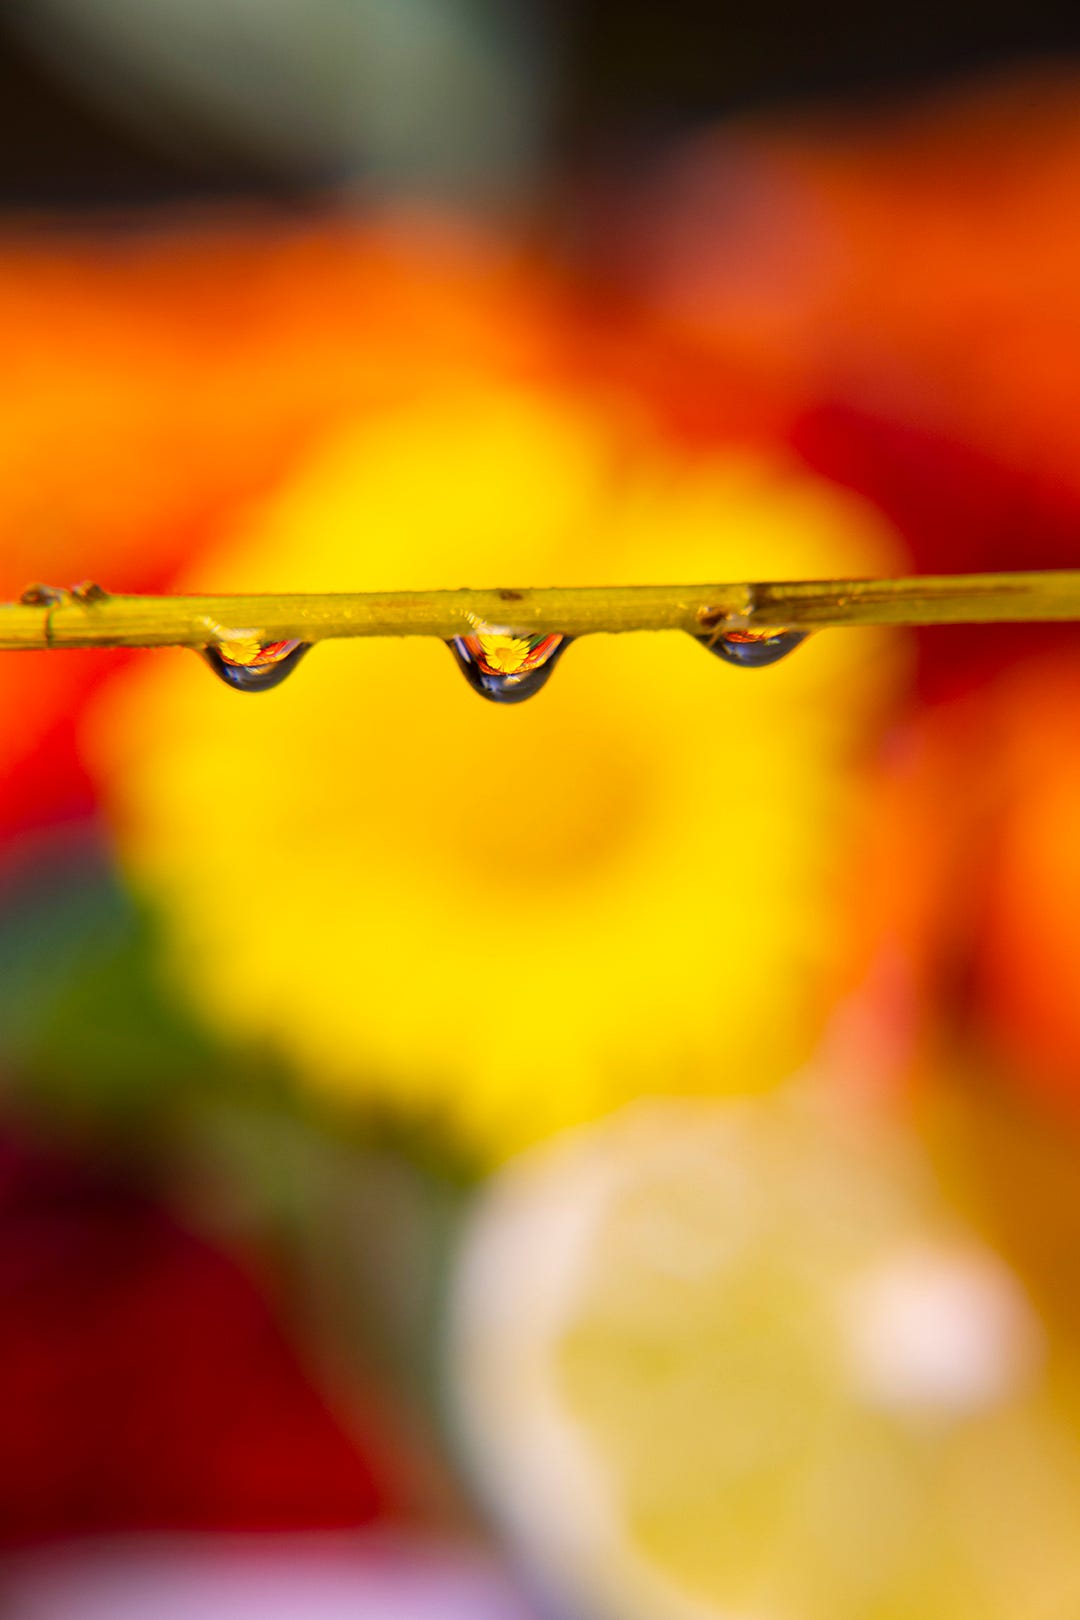
How to Set up your Sony Camera Correctly for Macro Photography
It is only five easy steps to do when shooting Macro photography. Macro can sometimes be seen as really hard or not worth it because of the equipment price. I shoot on a Sony a6400, and all of my Macro lens filters are from Amazon and under $20. I have achieved some beautiful Macro Photos indoors with constant lights and outdoors with just the sun.
Once you have either out on your Macro lens, filters, or tube, you are ready to follow these steps. If you follow these five steps to set up your Sony Camera correctly, I know you will also achieve beautiful Macro Photography.
1. Camera Mode
Depending on your level of experience with settings, you can choose to shoot in Manual Mode or Aperture Priority. These differences are not huge but could help make or break your photos.
When using Aperture mode, the camera will let you choose your Aperture, determining how open the lens is and the amount of light let in. The smaller your Aperture, the more light will be let in. Also, the smaller the Aperture, the more Bokeh or blur you will achieve in your photos.
Aperture Priority mode will then choose your shutter speed depending on the light it can sense around you. This is an advantage if you don’t know the basics of Manual camera settings. If you are using a flash for this process, your camera may not process it and move your shutter speed to a low number, like 1/30. You will not be able to hand-hold a camera and get no camera shake at that low of a number.
This is why I recommend Manual Mode. If you understand what each setting does, you can achieve the photos you want in this mode. You need to have a basic understanding of ISO, Aperture, and Shutter Speed. Once you have decided on your camera mode, you are ready for the next step.
2. What is Your Focus?
This is fairly easy to choose. If you are in Automatic focus, depending on your camera, you will only be able to focus on an object 12 inches or farther away. For Macro photography, you want to be right up next to the object you are focusing on.
For Macro Photography, you always want to be in Manual focus. You can achieve this by either flipping the switch on your lens or right on your camera body. This will allow you to be more precise with what you are choosing to focus on.
Once you are in manual focus, you can move your camera in and out until the object you would like to focus on is in perfect focus. Then take the shot. But we aren’t done yet. Let's go over the next step.
3. Should You Use a Tripod?
From my own personal experience, I would recommend not using one. A tripod or mono-pod would be helpful only when doing something like Macro water photos. This is when you don’t have someone to help you, and you must drop rocks and simultaneously take photos of the water.
For most Macro photos, a tripod or mono-pod would just get in the way. You want to have your camera setting where the shutter speed is high enough so you can handhold your camera. With Macro photography in manual mode, you need to be able to move the camera closer and farther away from your subject to get the right part of the subject in focus.
4. Reccomended Indoor Settings
Macro can be hard to shoot indoors if you do not have some sort of Flash or continuous light. Most Sony cameras have a built-in flash that would work well for Macro photography. If you are using a flash, ensure your Shutter Speed is at least 1/160, but 1/200 is recommended. This allows the shutter to be fast enough to see the flash.
It is better to create a triangle between the camera, flash, and subject with Flash photography. So if you have a Speedlight, I would recommend that over your Fill Flash on your camera. Now the camera settings for flash or continuous are pretty much the same except for your white balance.
You need a white balance of flash for when you use the flash and a white balance of either shade or auto for continuous lighting.
If your subject is smaller than one inch, I would use an aperture of f-8 to f-16, but if it is larger than one inch, I would use the smaller aperture your camera has, so f-1.8 to f-4.5. With your shutter around 1/160 to 1/200. Then your ISO is one that you can mess with, start at ISO 100 and, depending on the light you are using, go up from there. If it is dark, don’t be afraid to go up to ISO 800 or 1250.
5. Reccomended Outdoor Settings
These settings are fairly close to indoor photos, but you will have more light due to the sun, so you need to consider that. Because you are most likely shooting bugs or animals, you will want a higher shutter speed in case they move. This will allow you to freeze their motion.
For shutter speed, I would use 1/250 all the way to 1/500. The higher the bottom number for shutter speed, the less light is being let in. So if your photos are too light and your ISO is already 100, turn down your shutter speed; just don’t fall below 1/125. Anything lower, and you will see the camera shake in the photos.
I also recommend an Aperture of f-5.6 to f-8. For more advanced Sony Camera settings for macro photography, Click Here.
How to Set up your Sony Camera Correctly for Macro Photography
In Conclusion, Macro Photography is a fun new way to see the microscopic world we don’t usually see with our eyes. Make sure to shoot in Manual mode or Aperture Priority. Have your focus on manual focus, and don’t constrain yourself to a tripod. Be different and move your camera to capture different parts of your subject.
Subscribe to my blog to learn more fun tips and tricks for Macro Photography.
Go out there and take photos, then post on your social media and link this blog post so others can also take beautiful and interesting Macro photos on their Sony Cameras.


